Patterns
Pin Bar Practice
Pin bar exercises with answers: what makes a valid pin bar, why most fail without context, and worked examples — then drill pin bars on real charts.
Updated 2026-06-15
The pin bar is probably the most taught — and most misused — candle pattern in trading. The shape is easy: small body, one long wick, the “nose” pointing at a rejected price. The skill is everything around the shape: where it printed, what it rejected, and whether the story makes sense.
This page trains exactly that judgment, with worked examples and a self-test. The anatomy basics are covered in anatomy of a candlestick if you need them first.
What you are training your eyes to see
A pin bar records a failed excursion: price traveled far in one direction during the period and was forcefully pushed back. The long wick is the failure; the small body near the opposite end is the proof the rejection held into the close.
Shape rules of thumb: the wick is roughly two-thirds or more of the candle’s range, the body sits at the opposite end, and the candle is visible — it stands out from its neighbors rather than hiding among them.
But the shape is maybe a third of the read. The questions that decide whether a pin bar means anything:
- What did it reject? A wick into a defended support/resistance zone is information. A wick into empty space is volatility.
- What’s the trend context? A bullish pin at a higher low inside an uptrend tells a coherent story. The same pin against a strong downtrend is one candle arguing with a market.
- Is it actually visible? If you had to zoom in to find it, the market didn’t notice it either.
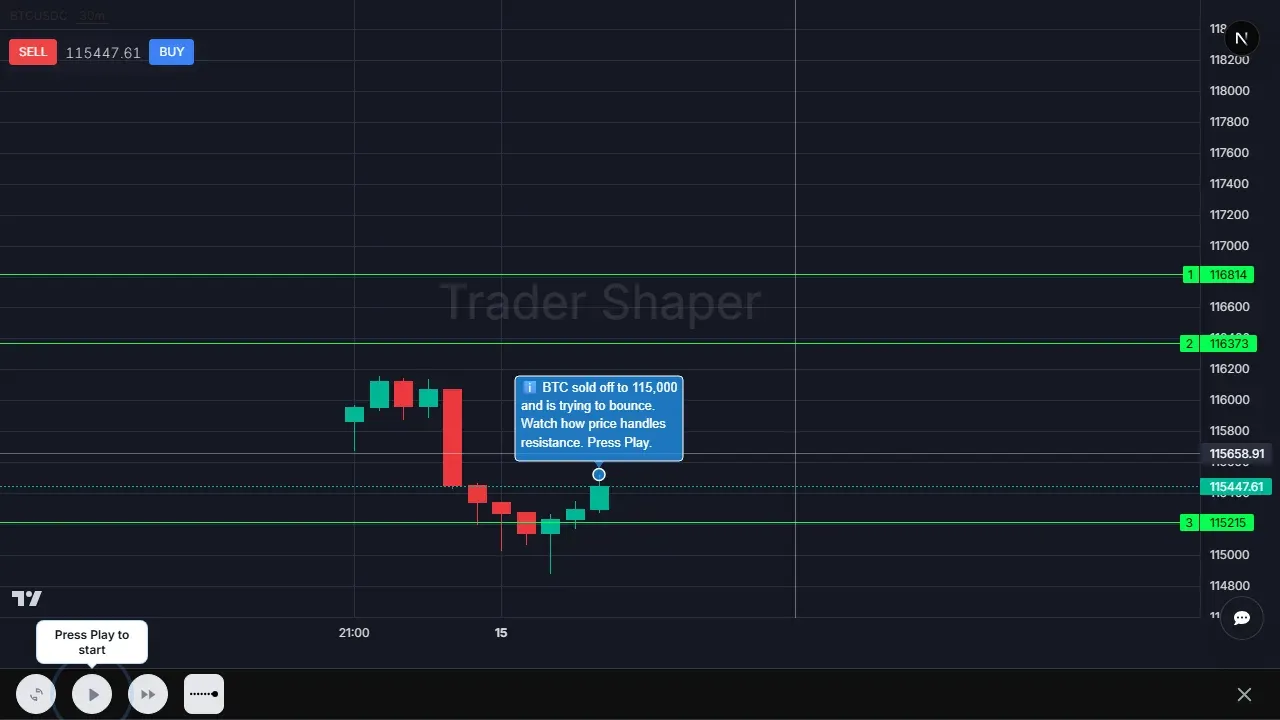
What to notice in the app screenshot
The screenshot below is closer to how pin bars appear in practice: price has already moved, levels are visible, and the task is about how price behaves around an area. Do not look only for a long wick. Look for the failed push, the location of the candle, and whether the reaction fits the surrounding structure.
Worked examples
Example 1 — the textbook case. Price pulls back in an uptrend into an area that produced two earlier bounces. A candle spikes below the zone, gets bought back entirely, and closes near its high: long lower wick, small body up top. Location, trend, and rejection all agree. This is the configuration worth practicing to recognize instantly.
Example 2 — right shape, wrong neighborhood. A perfect bullish pin bar prints mid-range, between levels, in a sideways market. What did the wick reject? Nothing in particular. These “orphan pins” are the most common false positive — the shape recognized, the question “rejected from what?” never asked.
Example 3 — the pin fighting the tide. A clean bullish pin forms during a strong downtrend, far from any support. One candle of buyers against days of sellers. Sometimes it marks the low; usually it’s a pause before continuation. The honest read: low-quality signal, regardless of how pretty the shape is.
How to practice pin bars
Do not practice by collecting the prettiest examples. Practice by sorting candidates into strong, weak, and fake. The weak and fake examples are what build judgment, because most real charts offer more lookalikes than clean textbook pins.
For each candidate, write the rejection first. A useful pin bar rejected something specific: a support zone, a resistance zone, a prior swing, or the edge of a range. If you cannot name what was rejected, the long wick may only be volatility.
Then write the failure condition. A bullish pin bar at support loses much of its message if the next candle closes below the pin’s low. A bearish pin at resistance loses much of its message if price closes above the wick high. Practicing the invalidation keeps the pattern from becoming a belief you defend.
Reading the candle after the pin
The candle after a pin bar is often more important than beginners expect. A pin bar proposes rejection. The next candle helps answer whether the market accepts that rejection or immediately cancels it.
For a bullish pin at support, a strong next candle that closes above the pin body supports the idea that buyers followed through. A weak next candle that stalls inside the pin’s range is less convincing. A close below the pin’s low says the rejection failed.
For a bearish pin at resistance, the same logic flips. Follow-through lower strengthens the read. A strong close above the wick high weakens or invalidates it. This is why pin bar practice should never stop at spotting the shape. The skill includes watching whether the chart confirms or refutes the rejection.
This follow-through habit also reduces overconfidence. You can mark a clean pin and still say, “good candidate, needs confirmation.” That is a more professional read than treating one candle as a finished trade idea.
Strong pins versus dramatic pins
A dramatic pin bar is not always a strong pin bar. A huge wick can look impressive, but if it forms in the middle of a range, it may only show volatility. A smaller pin at a clean level can be more useful because it rejected a price area that already mattered.
Strong pins usually combine proportion, location, and structure. The wick dominates the candle, the body closes away from the rejected area, and the rejection happens at support, resistance, or a meaningful swing. Dramatic pins often have only one of those pieces: the wick.
When practicing, separate “large” from “useful.” Ask what the wick rejected, who controlled the close, and whether the broader chart gives the candle a reason to matter.
Checklist: is this pin bar worth attention?
- Wick is the dominant feature (roughly 2/3+ of the range), body at the opposite end.
- The wick rejected a specific area — a level, zone, or swing point.
- The read agrees with structure (trend pullback, defended level), not against it.
- The candle stands out at normal zoom; you didn't have to hunt for it.
Test yourself
Decide before expanding each answer.
1. A flawless bullish pin bar forms in the middle of a range, far from support. Take it or skip it?
Show answer
Skip it — or at least treat it as low-quality. A pin bar's meaning is the rejection of a specific area. Mid-range, there's nothing being rejected, so the long wick is just intraperiod volatility wearing a famous shape.
2. A bearish pin bar (long upper wick) prints at a resistance zone that has capped price twice before, during a sideways market. What's the read?
Show answer
A legitimate rejection signal: third visit to a defended zone, sellers won again, and the close confirms the failure to hold the highs. Range context is fine for pins at range edges — that's where the defended areas are.
3. Why does 'wick at least 2/3 of the range' matter? What breaks if the body is half the candle?
Show answer
The proportions are what record a decisive rejection. If the body is half the candle, price was pushed back only partially — the period reads as a contested battle, not a failed excursion. It may still be information, but it isn't the one-sided rejection a pin bar claims.
4. A bullish pin forms at support, and the next candle is a strong red candle closing below the pin's low. What now?
Show answer
The rejection failed — that's the market's answer. A pin bar is a hypothesis about defense; a close below its low refutes it. The skill being trained is dropping refuted reads quickly instead of defending them.
Frequently asked questions
What makes a valid pin bar?
Shape-wise: a wick roughly two-thirds or more of the candle's range, a small body at the opposite end, and clear visibility against neighboring candles. But validity mostly comes from context — the wick has to reject a meaningful area, and the read has to agree with the surrounding structure.
Why do most pin bar trades fail?
Because the shape gets traded without the context. A pin bar in empty space rejects nothing; a pin against a strong trend is one candle versus the market. The pattern's reputation comes from the minority of pins that print at defended levels with structure behind them.
How should a beginner practice pin bars?
Not by memorizing more screenshots — by classifying real examples with feedback. Look at pins on charts you haven't seen, judge valid or fake and why, then get checked. The discrimination skill (this one matters, that one doesn't) is the entire game.