Market Structure
Support and Resistance Exercises
Support and resistance practice for beginners: worked examples, a marking checklist, and self-test exercises with answers — then drill it on real charts.
Updated 2026-06-15
Most beginners do not struggle to define support and resistance. They struggle on a real chart, where the choice is between five plausible levels and the honest answer is that only one or two of them matter. This page is for closing that gap: a short refresher, worked examples, and exercises you can grade yourself on.
If you need the concept itself first, start with support and resistance and come back.
What you are training your eyes to see
The skill being trained here is selection, not drawing. Anyone can draw a horizontal line. The trained eye answers a harder question: of all the places price turned, which areas did the market actually defend?
Three things separate a meaningful level from chart noise:
- Reaction quality. Price didn’t just pause there — it left the area with a clear, impulsive move.
- Repetition. The area produced a reaction more than once, ideally from the same side.
- Visibility. You found the level in seconds because it’s obvious, not because you zoomed in until something fit.
Beginners fail this mostly in one direction: too many lines. A chart with nine levels is a chart with none, because every future candle is “at a level” and nothing is information anymore.
Worked examples
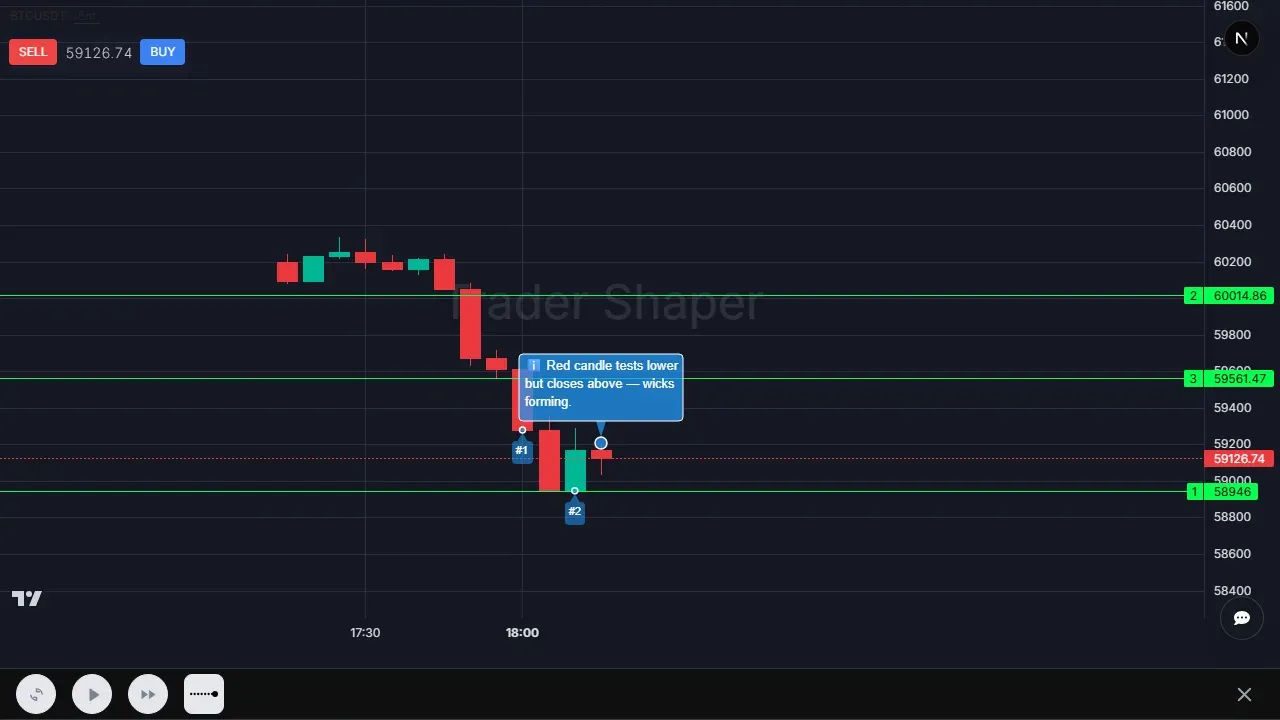
Example 1 — the level that counts. Price falls into an area, turns sharply, and rallies. Weeks later it returns, dips slightly below, and rallies again. Two visits, two strong reactions, clean exits. This is a level worth marking — and note that the two turning points were near each other, not identical. That’s why you mark a zone, not a line.
Example 2 — the level that doesn’t. Price drifts sideways through an area four times with no meaningful reaction. A beginner sees four “touches” and marks a major level. But touches without reactions are the opposite of support — they show the market did not care about that price.
Example 3 — the trap of the recent extreme. The most recent swing low feels important because it’s recent, but recency is not defense. If that low formed in one spike with no retest, you know nothing about whether anyone will defend it. Mark it as unconfirmed at most.
How to grade your own markings
After you mark a chart, hide your lines for a moment and ask whether the chart became simpler or busier. Good support and resistance marks simplify the story. They explain where price reacted before and where another reaction would be worth watching. Weak marks create a screen where every price is important and no price is useful.
Then check reaction quality. Did price leave the zone with force, or did it drift around the line? Did the area matter more than once, or are you building a story from one small pause? Did the level line up with a swing high or swing low that other traders could see at normal zoom?
Finally, review what you skipped. This is the part most traders avoid. If you skipped a level and price later reacted sharply there, ask what clue you missed. If you marked a level and price ignored it completely, ask whether you overvalued a weak touch. That correction loop is the practice.
Exercise: choose only two zones
Open a full screen of chart and force yourself to mark only two support or resistance zones. This constraint is useful because it makes you choose. If you can mark unlimited levels, you never learn which ones matter most.
For each chosen zone, write the evidence. Did price leave the area with force? Did it react there more than once? Did the level line up with a visible swing high or swing low? If the evidence is only “price touched it,” remove the mark and look for a better one.
Then write one rejected candidate. This is the level you were tempted to draw but decided to skip. Explain why. Maybe the reaction was too weak. Maybe the level was too close to another stronger zone. Maybe you had to zoom in to see it. Skipped levels are part of the exercise because the skill is selection, not decoration.
After price develops, review both the chosen zones and the skipped candidate. If the skipped candidate worked better than your chosen zones, do not treat that as failure. Ask what objective clue it had that you missed. That is how the filter improves.
Exercise: rank the levels
After you mark possible zones, rank them from strongest to weakest. The strongest level should have the clearest reaction, the most visible swing connection, and the cleanest move away. The weakest level is usually a recent pause, a tiny wick, or an area you noticed only after zooming in.
Ranking is useful because real charts rarely give one obvious answer. They give several candidates. The trader’s job is to decide which areas deserve attention and which ones should be ignored. If two levels are close together, combine them into a zone or keep only the stronger one.
When you review the chart later, compare your ranking with the actual reactions. Did the highest-ranked level attract the cleanest response? Did a weak level become important? The goal is not to be perfect. The goal is to improve the quality filter.
Checklist: is this level worth marking?
- Price reacted there at least once with a strong, impulsive exit.
- Repeated reactions cluster in a zone, not a single perfect price.
- You can find the level in seconds at normal zoom.
- You are marking it because price reacted — not because you want a trade there.
Test yourself
Answer before expanding. The goal is finding gaps, not scoring points.
1. Price touched an area six times in two weeks, each time drifting through it slowly by a small amount before returning. Strong level or noise?
Show answer
Noise. Frequency of touches is not defense — what matters is the quality of the reaction. Slow drifting through an area shows the market is indifferent to it. A single visit with a sharp rejection tells you more than six lazy touches.
2. You found a level, but price reversed 'too early', a few ticks above your line. Was your level wrong?
Show answer
Probably not — your expectation of precision was. Levels are zones. Different participants act at slightly different prices, so reactions cluster around an area. If you need price to touch an exact line, you will miss valid reactions and mark valid levels as failures.
3. A level held twice as support, then price broke below it decisively. Should you delete the line?
Show answer
Not immediately. Broken support often becomes relevant as resistance, because the area where buyers were defending is now where trapped buyers may exit and sellers may press. Watch how price behaves if it returns to the area from below before discarding it.
4. You marked seven levels on one chart 'to be safe.' What is the actual cost?
Show answer
Every future candle is now 'at a level,' so the levels carry no information. Over-marking also hides the one or two areas the market genuinely defended. Fewer, higher-quality zones is the entire skill.
Frequently asked questions
How many support and resistance levels should I mark on a chart?
Usually one to three per side at normal zoom. If you have more, you are likely marking every pause instead of genuine reaction areas. The skill is selection: keep only zones with strong, repeated reactions.
Should support and resistance be lines or zones?
Zones. Real reactions cluster around an area because different traders act at slightly different prices and timeframes. An exact line creates false precision and makes you misjudge valid reactions as misses.
How do I know if I'm marking levels correctly?
You need feedback. Mark levels on a chart you haven't seen, then check whether price actually reacted at your zones versus the ones you skipped. Repeating that loop — commit, check, correct — is what trains the eye; rereading definitions doesn't.